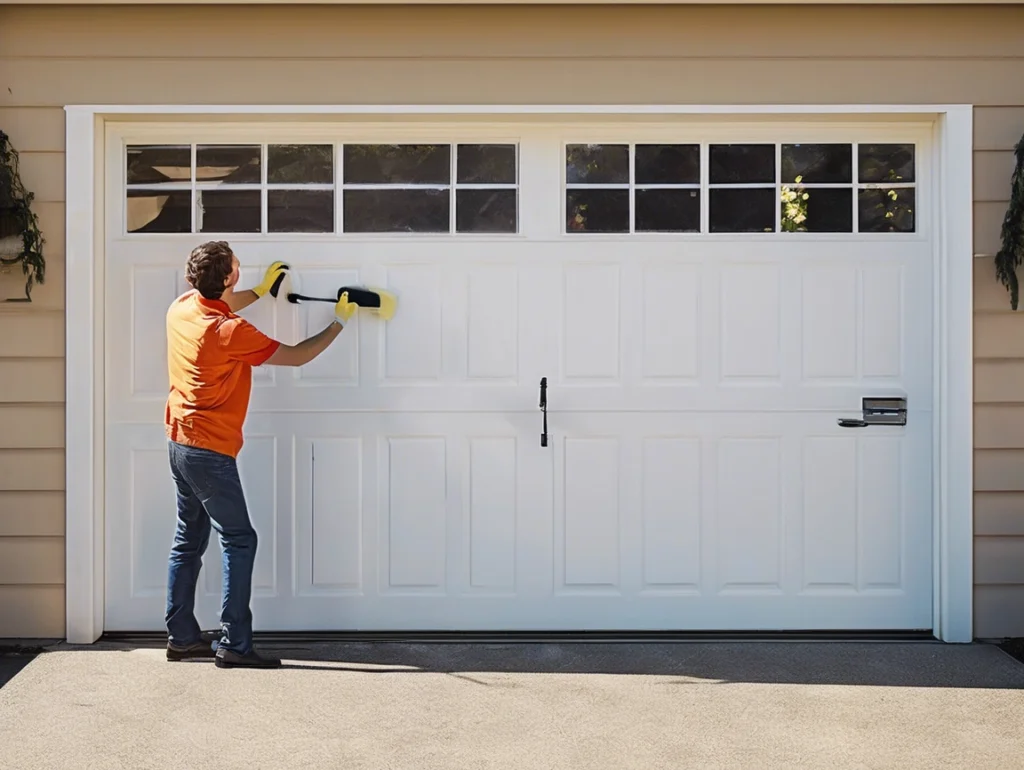
Garage door springs are essential components that help lift and lower your garage door with ease. Over time, these springs can become worn or broken, making it difficult to open and close your garage. While it may seem like a daunting task, replacing your garage door springs is a relatively straightforward DIY project that can save you a significant amount of money compared to hiring a professional.
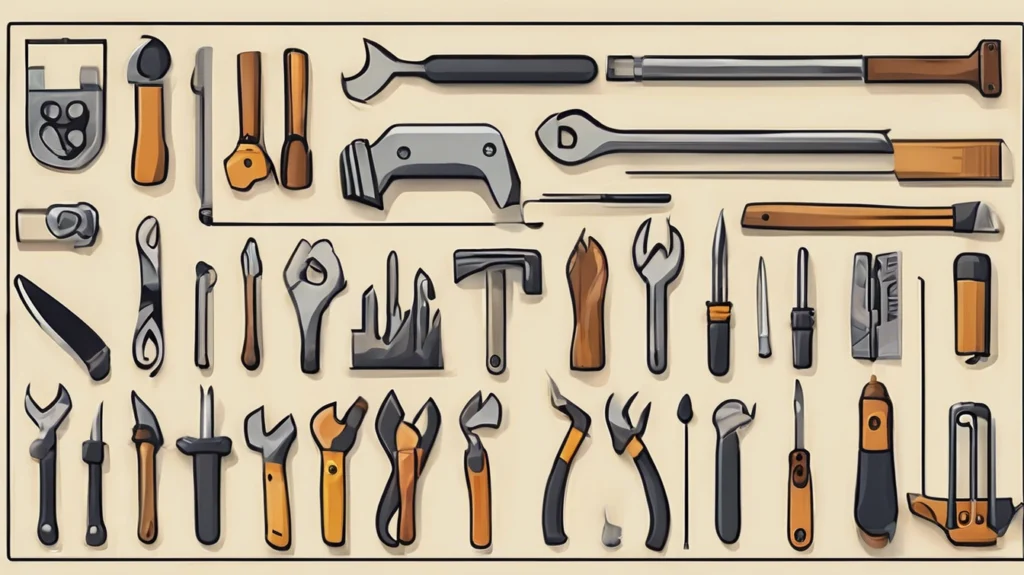
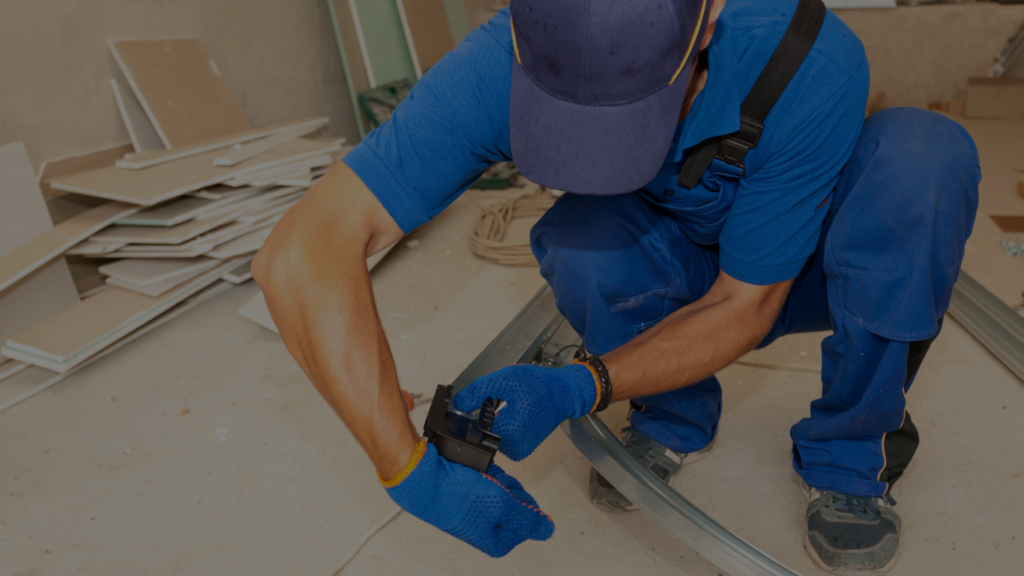
Before you begin, it’s important to ensure that you have the right tools and safety equipment on hand. You’ll need a pair of sturdy gloves, safety glasses, a socket wrench set, a winding bar, and the appropriate replacement springs for your garage door. It’s also a good idea to have an assistant on hand to help with the process.
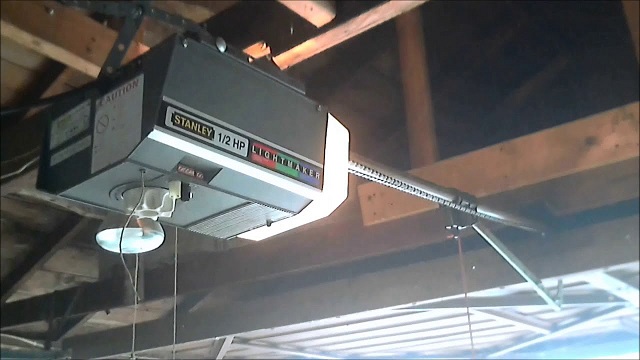
Start by disconnecting the garage door from the opener, if you have one. This will allow you to work on the springs without the added weight of the door. Next, carefully examine the springs to determine the size and type you need to replace. This information can typically be found on the spring itself or in your garage door’s owner’s manual.
Once you have the replacement springs, it’s time to begin the process of removing the old ones. This can be a delicate and potentially dangerous task, as the springs are under a significant amount of tension. Carefully follow the manufacturer’s instructions for safely releasing the tension and removing the springs.
Begin by loosening the set screws that hold the springs in place, using your socket wrench. Slowly and carefully unwind the springs, making sure to keep your hands and fingers clear of the coils. Once the springs are fully unwound, you can remove them from the door.
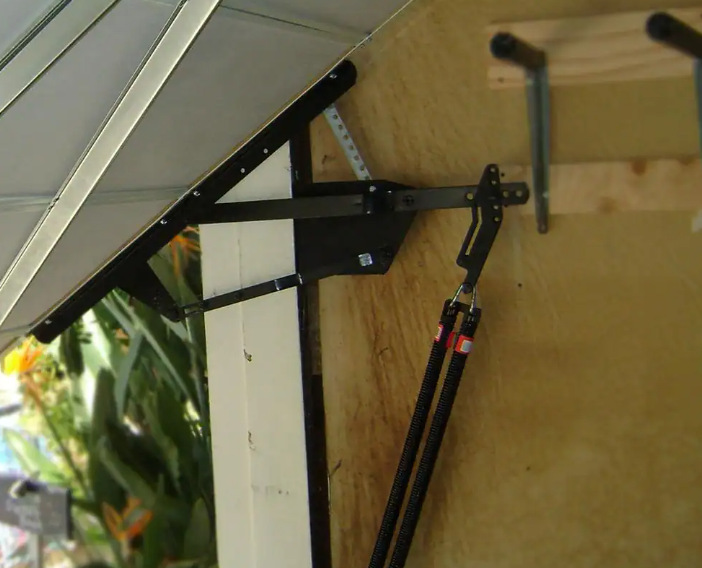
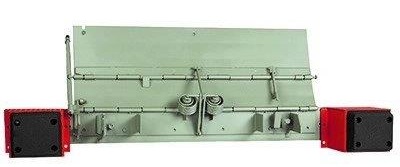
Next, install the new replacement springs. Start by hooking one end of the spring onto the stationary spring anchor on the garage door frame. Carefully wind the spring using the winding bar, making sure to follow the manufacturer’s recommended number of turns. Secure the other end of the spring to the moving spring anchor on the door.
Repeat this process for the other spring, making sure that both springs are properly tensioned and balanced. Once the new springs are in place, reconnect the garage door to the opener, if applicable, and test the door’s operation.
It’s important to note that the process of replacing garage door springs can be dangerous if not done properly. If you’re not comfortable with the task or have any concerns, it’s always best to consult a professional garage door technician. However, with the right tools, safety equipment, and a little bit of patience, you can successfully replace your garage door springs yourself and save a significant amount of money in the process.