Essential Tools for Garage Door Spring Replacement
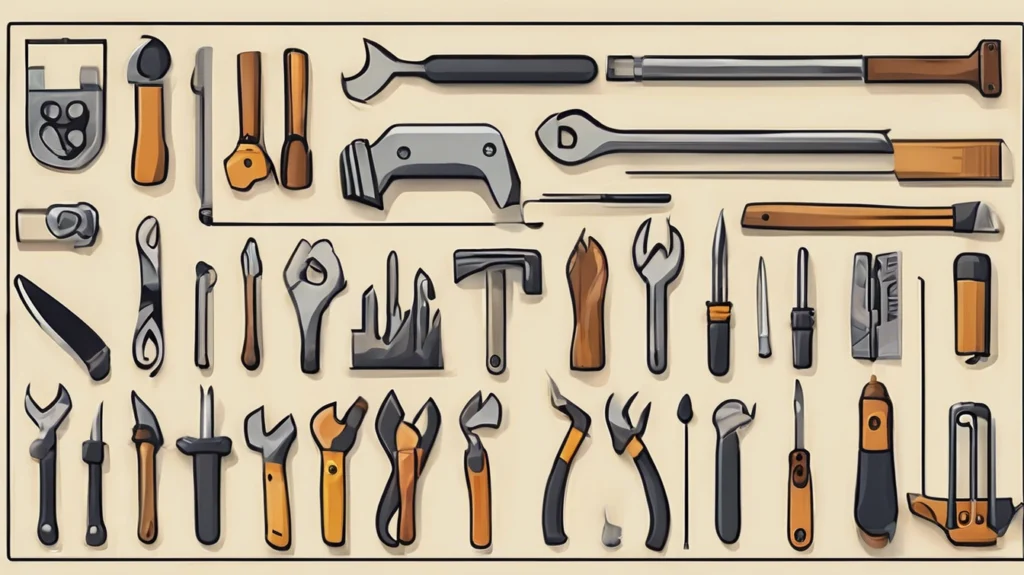
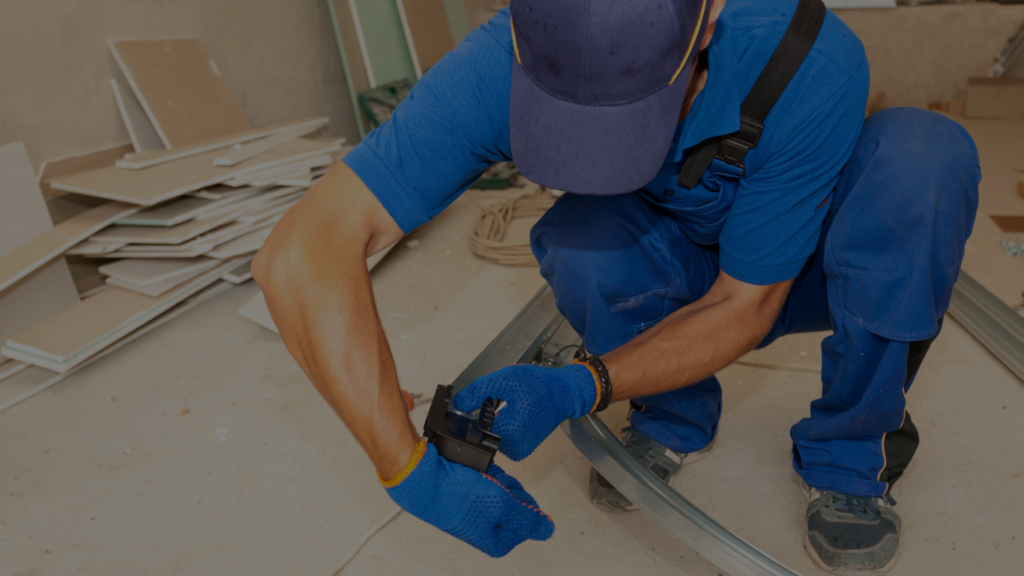
Replacing garage door springs requires specific tools to ensure the process is safe and efficient. Key tools include a socket wrench set, winding bars, and safety equipment such as gloves and goggles. Having the right tools at your disposal not only facilitates the replacement but also enhances safety, allowing you to handle the high tension of the springs effectively.
In addition to the basic tools, you may also need a ladder for accessing the springs and a torque wrench to ensure the proper tension is applied to the new springs. It's essential to familiarize yourself with each tool's purpose before starting the replacement process to avoid any mishaps during the installation.
Safety Precautions When Replacing Garage Door Springs
Safety should be your top priority when replacing garage door springs, as they are under high tension and can cause severe injury if not handled correctly. Always wear protective gear such as gloves and safety glasses to shield yourself from potential hazards. Additionally, ensure that children and pets are kept away from the work area to prevent accidents.
Before beginning the replacement, disconnect the garage door from the opener and ensure that the door is fully closed. It's also advisable to have a second person assist you, especially when unwinding or installing the springs, to maintain control and stability throughout the process.
Signs Your Garage Door Springs Need Replacement
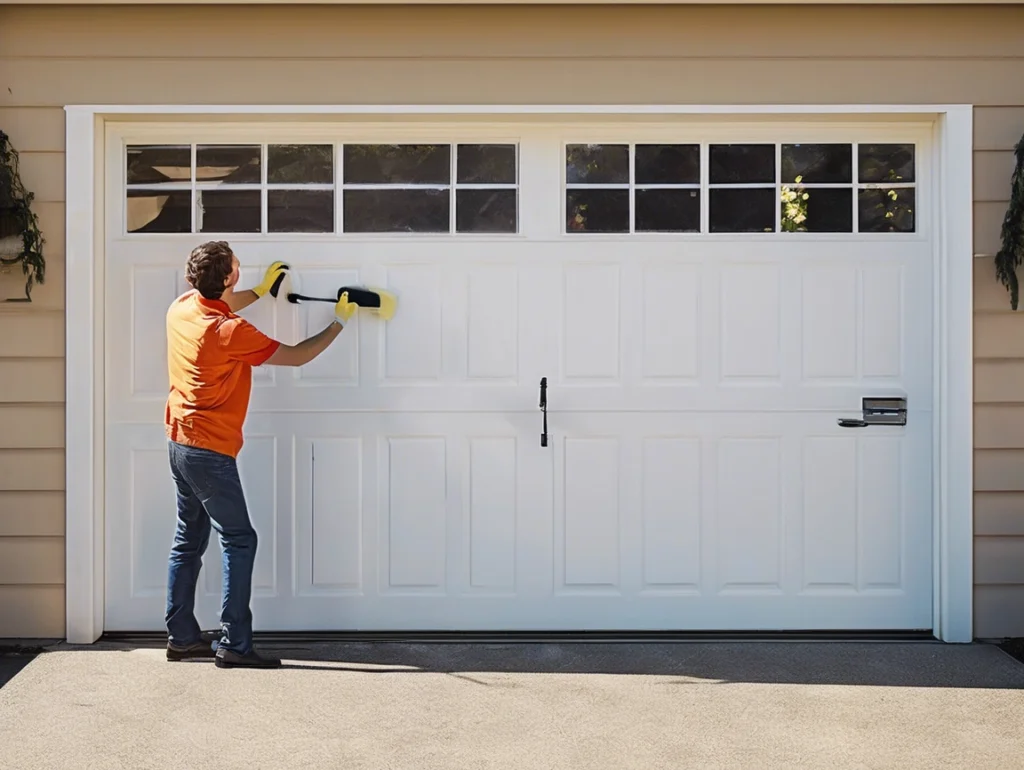
Recognizing the signs that your garage door springs need replacement can save you from more extensive damage and costly repairs. Common indicators include a door that opens unevenly, excessive noise during operation, or the door not opening at all. If you notice any of these issues, it’s crucial to address them promptly to avoid further complications.
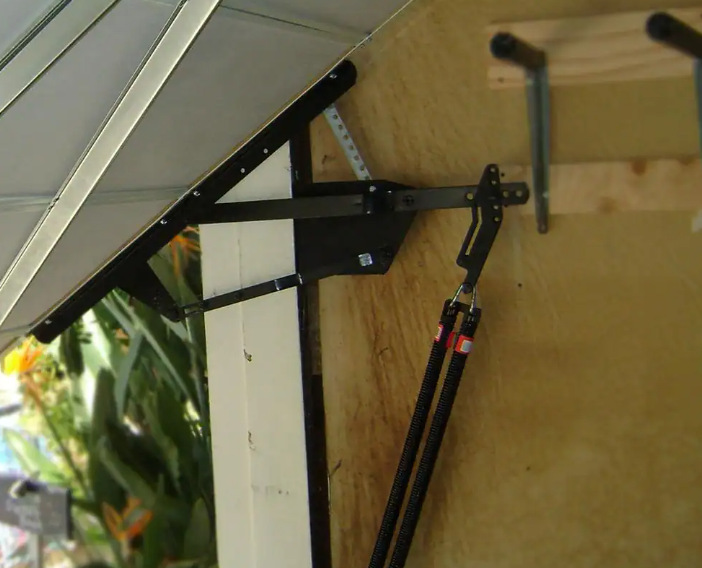
Additionally, if you observe visible wear and tear on the springs, such as rust or deformation, it's a clear sign that they need to be replaced. Regular inspections can help catch these signs early, ensuring your garage door operates smoothly and safely.
Understanding the Different Types of Garage Door Springs
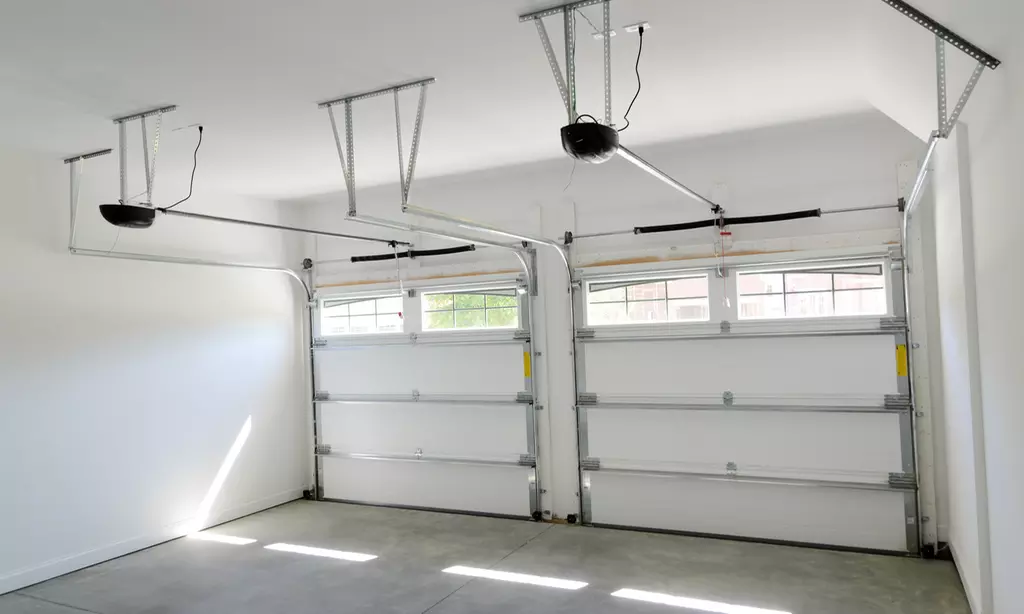
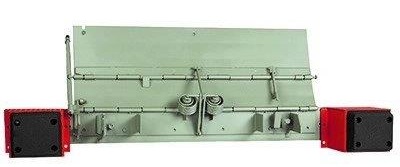
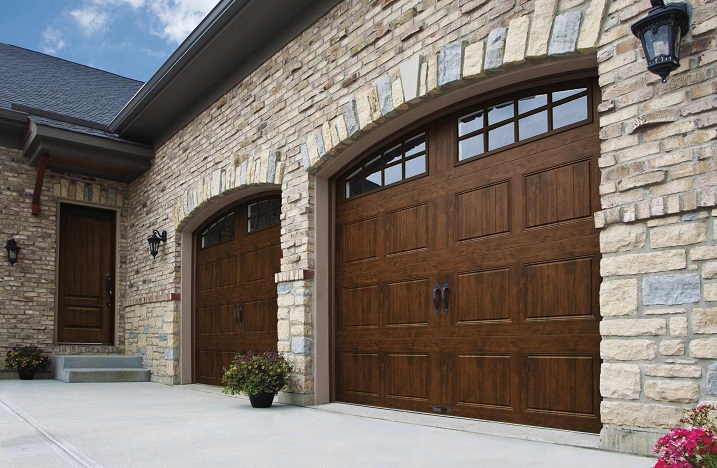
Garage doors typically use either torsion or extension springs, each functioning differently and suited for various door types. Torsion springs are mounted above the door and provide lifting power through torque, while extension springs are located on either side of the door and stretch to provide the necessary force. Understanding these differences is vital when selecting replacement springs.
Choosing the right type of spring for your garage door is essential for optimal performance and safety. It's important to consult your garage door's manual or a professional to ensure you select the correct springs based on your door's weight and size, as well as your specific needs.