Replacing Garage Door Springs: A Step-by-Step Guide
Garage door springs are an essential component of your garage door system, responsible for counterbalancing the weight of the door and making it easy to open and close. Over time, these springs can become worn, stretched, or broken, making your garage door difficult to operate. Replacing garage door springs is a common DIY project, but it’s important to approach it with caution and follow proper safety procedures.
In this blog post, we’ll walk you through the step-by-step process of replacing your garage door springs, so you can get your garage door back in working order safely and efficiently.
Step 1: Assess the Situation The first step in replacing your garage door springs is to assess the current condition of your door and springs. Examine the springs closely to see if they are visibly worn, cracked, or broken. If the springs appear to be in good condition but the door is still difficult to open, the springs may simply need to be adjusted or lubricated.
Step 2: Gather the Necessary Tools and Supplies Before you begin the replacement process, make sure you have all the necessary tools and supplies on hand. You’ll need the following items: – Replacement garage door springs (make sure to get the correct size and weight capacity for your door) – Winding bars (also known as “spring hooks”) – Adjustable wrench or socket set – Pliers – Gloves and safety glasses
Step 3: Disconnect the Door Begin by disconnecting the garage door from the opener or any other mechanisms that are attached to it. This will allow you to work on the springs without the added weight and tension of the door.
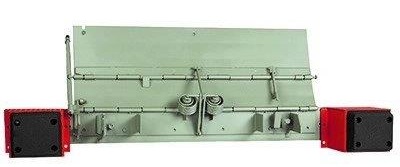
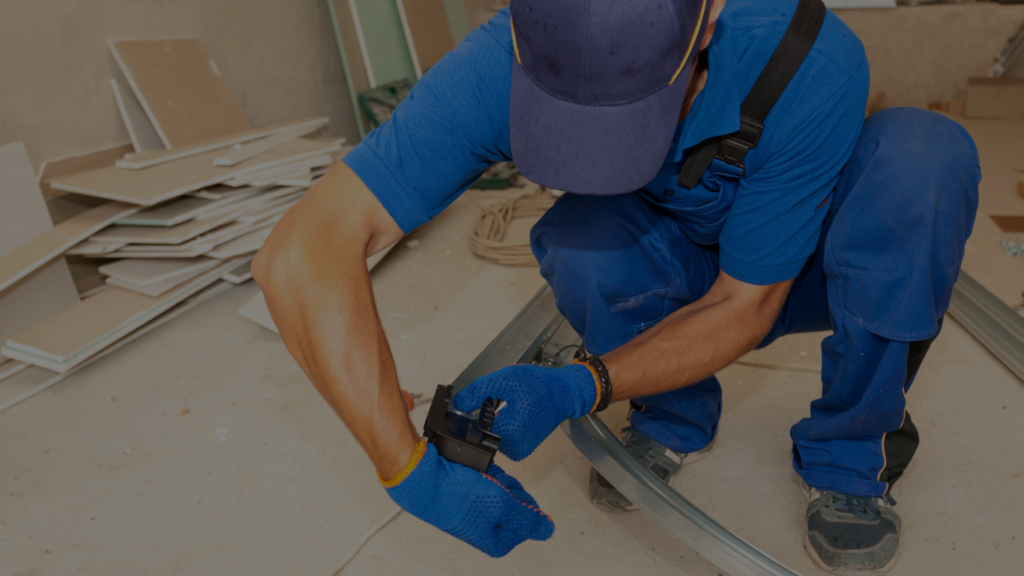
Step 4: Release the Spring Tension Garage door springs are under a significant amount of tension, so it’s crucial to release this tension carefully. Use the winding bars to slowly and steadily unwind the springs, taking care to keep your hands and body out of the way in case the springs suddenly release.
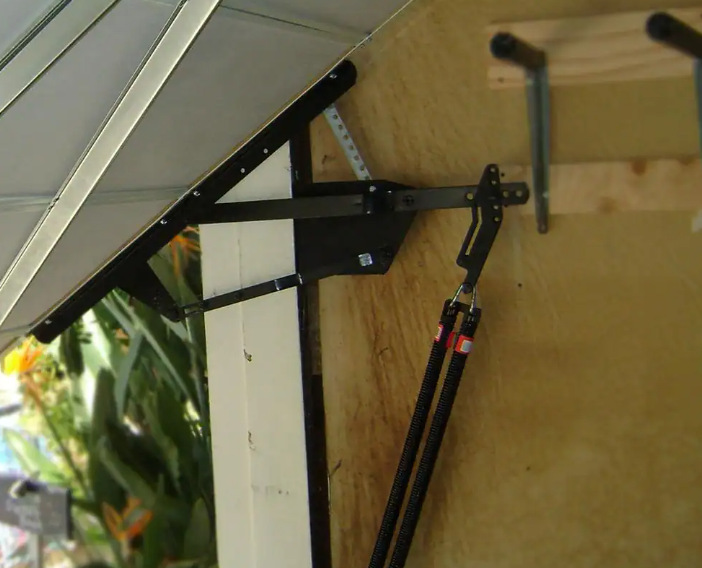
Step 5: Remove the Old Springs Once the tension has been released, you can remove the old springs from the door. Be sure to note the orientation and placement of the springs, as you’ll need to replicate this when installing the new ones.
Step 6: Install the New Springs Carefully place the new springs in the same position as the old ones, making sure they are properly aligned and secured. Use the winding bars to wind the new springs to the appropriate tension, following the manufacturer’s instructions.
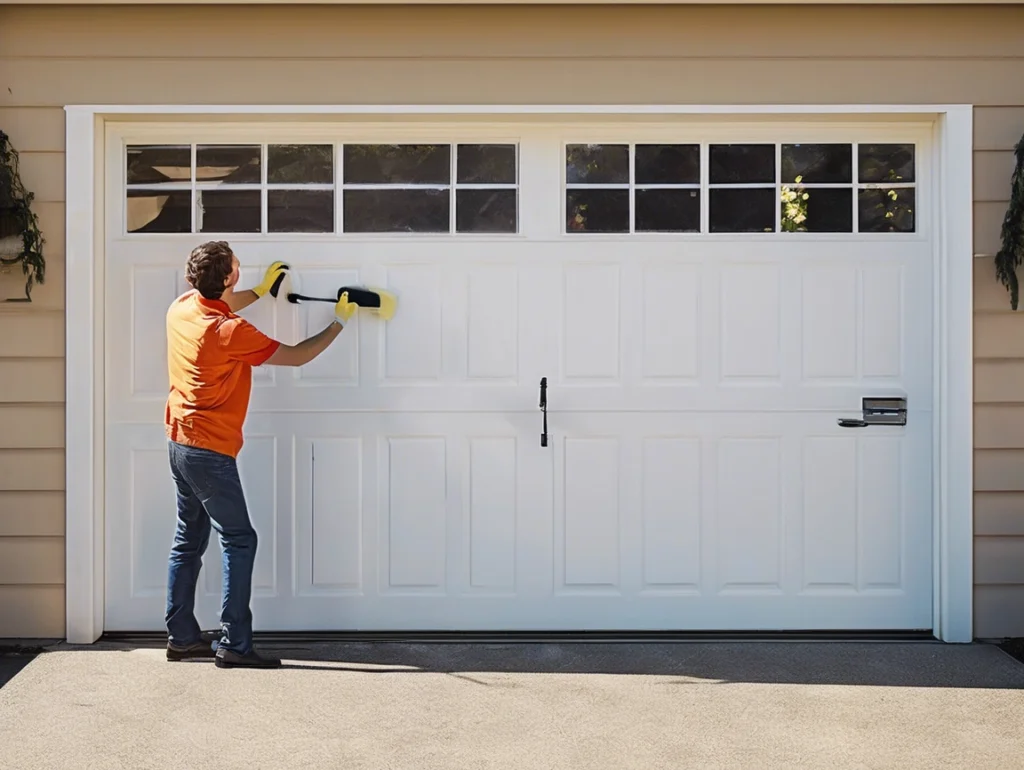
Step 7: Reconnect the Door Once the new springs are installed and properly tensioned, reconnect the garage door to the opener or other mechanisms. Test the door to ensure it opens and closes smoothly.
Step 8: Adjust the Door Opener If necessary, adjust the garage door opener to ensure it is properly balanced and functioning correctly with the new springs.
Remember, replacing garage door springs can be a dangerous task, so it’s important to take all necessary safety precautions. If you’re not comfortable with the process or have any concerns, it’s always best to consult a professional garage door technician.
By following these steps, you can successfully replace your garage door springs and restore the smooth, effortless operation of your garage door.